

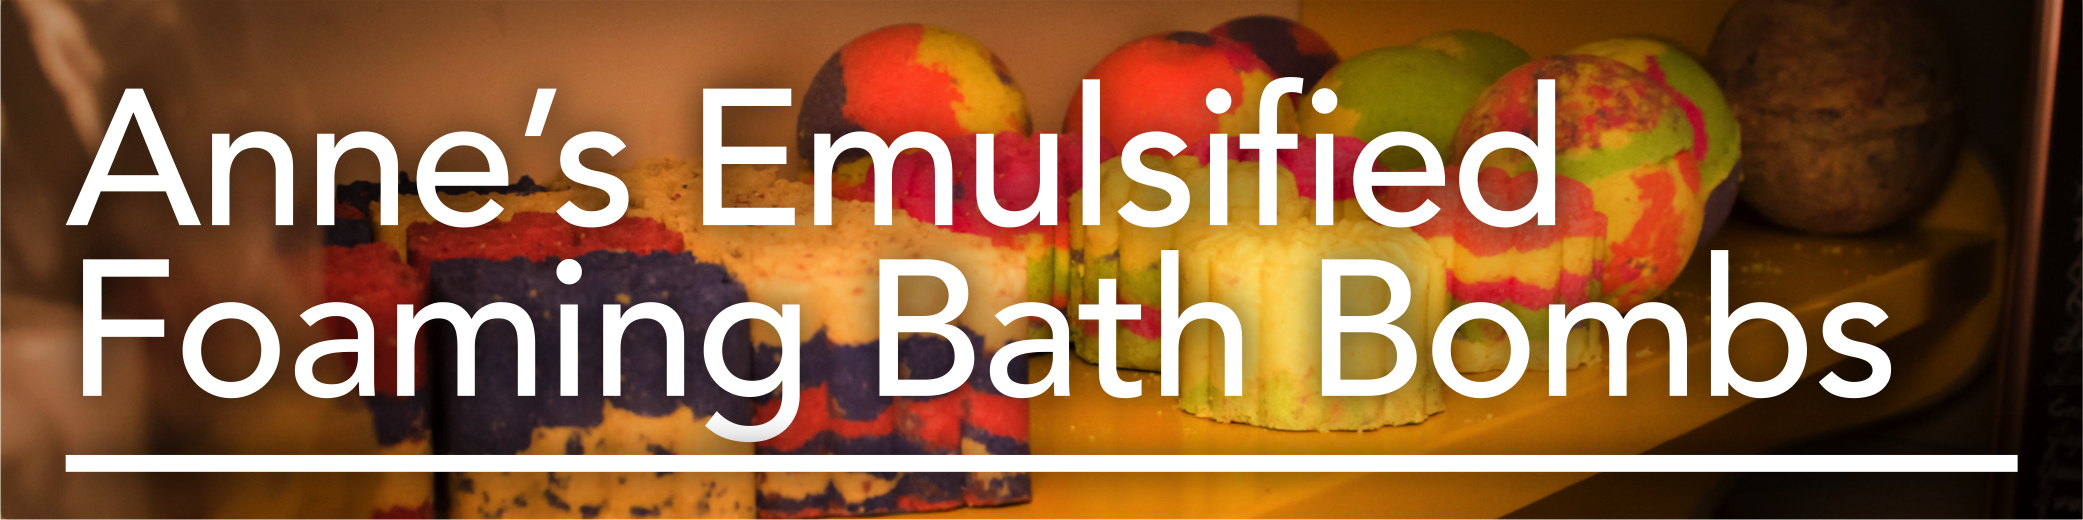
Chemistry Connection's specialty recipe: Anne's Emulsified Foaming Bath Bombs. This recipe has been tried and perfected over 20 years. Get the Small Bath Bomb Kit, Large Bath Bomb Kit or buy these ingredients separately:
Ingredients
Small Batch: 16-18
- 1.5 Lb Citric Acid
- 3 Lb Sodium Bicarbonite
- 2 Oz Sodium Lauryl Sulfoacetate (SLSa), for the best foam ever
- 4 Oz Corn Starch
- 4 Oz Cream of Tartar
- 2 Oz Almond Oil
- 2 Oz Polysorbate 80
- 2 Oz melted Shea or Cocoa Butter
- Fragrance or Essential Oil as needed
- Mica powder or Lake colorant
Large Batch: 30+
- 2.5 Lb Citric Acid
- 5 Lb Sodium Bicarbonite
- 4 Oz Sodium Lauryl Sulfoacetate (SLSa), for the best foam ever
- 8 Oz Corn Starch
- 8 Oz Cream of Tartar
- 4 Oz Almond Oil
- 4 Oz Polysorbate 80
- 4 Oz melted Shea or Cocoa Butter
- Fragrance or Essential Oil as needed
- Mica powder or Lake colorant
Pre-Mix Instructions
Gather 2 large mixing bowls, a wire whisk, rubber gloves, a face mask, wax paper, and a blow dryer or craft heat gun.
Make sure you have a large open space to spread the wax paper so that the bombs are sitting level and can air “cure”.
You will need to mix the ingredients in a well-ventilated area, and always use safety gear like gloves and masks if needed.
Mixing Procedure
- Mix together the pre-measured citric acid, sodium bicarbonate, SLSA, cream of tartar and cornstarch together until well blended.
- Slowly add almond oil and polysorbate 80, and melted shea or cocoa butter until well incorporated. You may want to put your gloved hand(s) into the mixture and smooth out any lumps that may form. Mixture should resemble ground cornmeal.
- At this point, if you want different colors and fragrances, separate the mixture into different bowls and add fragrance oil until you reach the desired level of fragrance. You can also add colorants (micas) now if you wish.
- Take the 2 sides of the mold and scoop as much mixture into the mold as possible and squeeze the 2 sides together. Hold the mold in one hand while very gently squeezing the top of the mold. It should slide right off. Gently turn ball over into hand and gently squeeze the other side of the mold till bomb pops out into hand. Carefully lay the bomb onto the wax paper and let it “cure” for 2-3 days in a dehumidified area.
- After your foaming bath bombs have cured and are nice and solid, it’s time to shrink wrap them. Unfold the shrink wrap and cut out in to 8 x 8 inch squares. Place the bomb in the middle and pull one edge of the wrap up and over the ball while working your way around the ball. Hold the wrap down with one finger and apply the hair dryer or heat gun to the wrap working you way around the ball until it shrinks the wrap and the wrap adheres to the ball. Make sure you heat the entire ball. Lastly, properly label the product and affix the label to the bath bomb.
Packaging Suggestions: Keep the bath bombs only in the clear wrap, or be creative and wrap the bath bombs in pretty fabric or sheer material with a bow. These make wonderful gifts and will stay fresh for at least 6-9 months if stored properly.
Amount of bath bombs depends on how tightly you pack the molds.
When using the bombs, simply drop one bomb under warm running water into a tub. Be advised that jet tubs will make the bubbles absolutely explode!
Use formulation at your own risk. We make no claims on the suitability of products used, or this product. Chemistry Connection dba MakeYourOwn.com not responsible for outcome, liability, or any damages.